I so dearly love a cottage in winter!

Thursday, January 20, 2011

The Cottage's Best Cookie Recipe

A short post today because Madam Lu is off to Grandmama's and I have to work on that horrendous list I promised....

And now for the BEST, really honestly, cookie recipe in the world...developed at Cottage De Haven.  Please try it and let me know what you think.  Also, feel free to share the recipe, as everyone who has a cookie will want it...just make sure to reference Cottage De Haven as the author!


Cottage De Haven Cookies

1 cup butter, softened
2 cups creamy peanut butter
1 1/2 cups sugar
1 cup packed dark brown sugar
2 eggs
2 TBL of milk
2 pours vanilla extract
2 1/2 cups flour
1 1/2 tsp baking soda
1 tsp baking powder
1/2 tsp salt
1 bag Reece's peanut butter chips
1 bag semi-sweet chocolate chunks
1 flat dish with sugar to roll cookies in


In a large bowl beat butter and peanut butter.  Add sugars.  Beat.  Add eggs.  Beat.  Add milk and vanilla.  Beat.  Add flour, baking soda, baking powder, salt.  Beat.  Add peanut butter chips and chocolate chunks.  Stir.  Roll cookies in sugar.  Do not smash with fork, keep them in little ball shapes.

Bake 350* for 10 - 12 Minutes.  Set the timer.  DO NOT OVERBAKE.  Cookies will appear underdone, but they are not.  Let the cookies cool on sheet for @ 1-2 minutes (or until they are set just enough to move).  Move to cooling rack.

Cookies are slightly crispy/chewy on the outside and soft and amazing on the inside.

NOTES on Baking at the Cottage:
1.  If you use butter with salt, you do not need to add salt to your baking.

2. It is a myth that everything must be measured to an exact amount in baking.  This is a fairy tale bakers have perpetuated because it makes them feel superior.  Actually measurements such as "a dump" or "a pour" or "a handful" are perfectly acceptable in baking.

3. Another baking myth is the "in separate bowl mix flour, baking powder/soda, and salt.  This is never important and simply makes more dirty dishes.  First pour all of your flour on top of your dough.  Then add your sodas and salt on top.  When you mix the flour in, the other stuff gets mixed as well.  Seriously, save yourself the extra step!

4. If a cookie recipe is good enough to make, double it.  You can freeze the dough or bake all of the cookies and freeze the extra cookies.  Or as the case is at the Cottage, share the extras with your elderly neighbors on a cold afternoon, and watch in horror as your dog climbs on the counter (surprisingly agile for a 90lb. Doberman) and snarfles half of them down!

Tuesday, January 18, 2011

Making Love to Wendle, Injected Cupcakes, and Dungeon Tales

Welcome Back!  To tell the truth, after Christmas Vacation, and then our Vacation from Christmas, this Madam de la Cottage has enjoyed some time off romancing my new Kindle!  Most romances do need a break, though, so after a good long week of making out with Wendle I have come up for air.  First to show you what I have been working on...to quote GIGI..."good heavens...no one makes love all the time...the only people who make love all the time are liars"

Injecting cupcakes is just wrong.  You never get enough "stuff".  I always use the "dump" method...not as cool sounding, but much better tasting...

Mix the batter.  Pour it into your cupcake pan.  To make the filling...mix one block of room temp cream cheese.  Then add a nice-sized dump, or glob if you prefer, of powdered sugar.

Flip a good sized glob into the batter.  Yes, right on top.  Does it look too full?  Good, that means you are ready to add the cherries!  As you can see from the first picture, your cupcakes should be spilling, souping, and running...Now bake.

Were you frightened of the mess?  NOOOO!  The batter simply bakes up and around the sloppy insides...leaving you with splendid and delightful treats!  Simple, yes!
I have also been working on my new bead loom.  This is a pretty standard pattern, and my first creation.
And attempt #2...I designed this pattern and this one turned out much better in overall form.
And this is a tiny section of what is to become a beaded bag...probably for Madam Lu.  After 2 practices, I felt ready to tackle a real project.  This will be about a 9"x6" panel when I am done.  I won't tell you any more details, but will show you the finished project.


Now, interspersed with all of this Wendle love, baking, and beading Sir and I are gutting the little Sirs' bathroom (hopefully to be followed by bedroom).  In order to gut the bathroom, we had to be able to walk through said room without destruction of self and limb.  In partnership with the bedroom is the dungeon....1,375 sqft of toy nightmare.  The dungeon was meant to be a quiet playland.  It was a "fail". So, we have been cleaning.  12 hours to be exact.  A brief pictorial...


BEWARE: Entering the Sirs' wasteland.
A weird little nook right off the entryway door...small door goes into an attic.

I warned you!
Bright and cheerful, yes?  A note: the tv was a recent addition and I never even hooked it up.  I am stringently opposed to tv's in kids rooms...this shows a total lack of control over sirs' and a desperation to try anything to bribe their cooperation.  Another "fail"
OH MY GOODNESS!  Don't you just LOVE the navy and red floor to ceiling wallpaper?  Not to mention the matching triple row cafe curtains....!!!
OOOH, this one gives a tiny view of the bathroom mostly gutted.  Lets just say this looks like a show room compared to the status of the dungeon!
Alas, after hours and hours, the room is clean.  Furniture has been moved and re-located.  The dungeon is basically off-limits to these people.   Piles of toys have been sorted, boxed, and put into the attic.

What?  Are you wanting some "after" pics.  Oh no!  You cannot have any until these rooms are shiny, new, and complete.  The wallpaper still adorns the walls, and the bathroom is not even close to being put back together.  You will just have to take my word on the fact that it is all MUCH cleaner!  Ha!

And now for my up and coming "to do" list.

1.  Organize art room shelves.  Begin taking everything off shelves and painting.


2. Sort all of the Sirs' clothes, starting with infant.  Give away much, put the rest in the attic.  Miss Melanie is our resident Textile Supervisor.
3. Finish beaded pouch.


I am sure there are many other things to be completed, but this is on my list for "today".  I will keep you posted, as always!

Thursday, January 6, 2011

Boudoir de Madam Lu Before and After

It is good to be back at the cottage after an amazing break!  With much laundry and other such trifles to accomplish in a timely fashion, I thought I would show you another remodel at Cottage De Haven.  I thoroughly enjoyed Madam Lu's little boudoir update and hope you enjoy it as well.

 I must tell you that at the time of this remodel, I was months away from seeking Sir's dismissive reply to my bloggish ideas.  That said, I did not take pictures of her actual room before the updates.  This is the spare bedroom and it is an exact replica of Madam Lu's in colors, drapery, and over-all mood.


 The dingy brown-ish pink flat walls were an abomination to that glorious shade of cold cheeks, lovely roses, and frothy-sugared poufs of cotton candy.


 As a side note, this bed was my first "big girl" bed and my dad made it for me.  The rest of the furniture in this room belonged to Sir's dear grandmother who left us much too soon, and it is our honor and delight to have some of her things!


 Do not be fooled by the adorable quilty-mismatched looks...this room is disastrous...and remember...an exact replica of Madam Lu's...


 And now...entering...Madam Lu's Suite of Girlhood Realized!!!


With two lively and sugary-sweet shades of the greatest color on earth...


The vintage lamp came with the house...the only thing worth saving in this room!


Sir added the amazing crown molding and chair rail.  I chose to put the rail 1/3 of the way down the wall because the dark pink shows off all of her white furniture perfectly!  We replaced the shiny brass door knobs with these antiqued knobs (which we have been doing room by room as we remodel) and I simply painted the hinges (as I have done in the entire house) with a flat black paint.  You would never know and we did not have to replace any hinges.  The door on the left is the entry door and the one on the right is to Madam Lu's bathroom.

Her walk-in closet.  Don't judge...it is a good place to stash all of the baby stuff...for now...


 Such cute shoes...ahhh!


 Built-in dresser...I really DO love the bones of this place!

AND NOW FOR THE PIECE DE LA RESISTANCE.......

This is Madam Lu's Cornice.  It was hand made, piece by piece, by her Opa.  It is my every childhood dollhouse dream in the flesh...or wood...


Our Dah-ling Madam Lamb painted each cottage uniquely.


 What is hard to see in these pictures is that each little trim piece is its own tiny piece of wood.  Nothing on these homes is flat.  Opa glued each roof shingle on individually...it is more than amazing...


 Now you can see the closet door and the entry door.  Madam Lu's bedding was a joy to find...it combines classic plaids, swiss dot, toile, and other patterns in a white, light, and dark pink array of beauty!  Opa also made the cute little step stool so Sir E and Sir M could climb up and look over the rails to see their sweet baby sister!


 A cozy little changing table and dresser corner...The giraffe was mine as a little girl...the dresser was a find...we got it for next to nothing....I think it was an obnoxious color of blue...and Sir added some adorable-fancy trim around each drawer, painted it white, and put some new flowery little handles on it...


 Her "reading nook" as defined by these Martha Stewart Poufs.  In the future I hope to add a low bookshelf and a dainty snuggle-couch to read upon with her.  My grandmother made the beautiful fairy quilt.  The hippo was a gift for my first dear-one and as he looks over my little girl, I know my dear one is as well.  The rocker was a gift from my parents and I have rocked all of my children in it...it is valued very highly for that reason.

  My Dearest Madam Angela made this adorable banner for Madam Lu's First Birthday.  It is perfection!


I find myself sighing a little each time I enter this space.  It is the only one finished on the entire floor and it is my delight.  I know this room will continue to grow and mature along with the little sprite that inhabits it.  I will document the first along with you and the latter in my heart.

Sunday, December 26, 2010

Christmas Break

Hi friends!!!  Cottage De Haven will be on  break over the Christmas Holiday and into the New Year!  I will be back, hopefully with some fun stories and pictures of our break...including our trip to FL to visit Sir's brother.  I will be back sometime after the first week of January!

Tuesday, December 21, 2010

Evil Little Elf Games

I suppose you want to see Cottage De Haven at Christmas this year.  Well, let me warn you, this year we have a crazy-doberman-teen.  Though the destruction this little guy wreaks is formidable, it is nothing in comparison to Madam Lu's evil little elf games.  So, I will show pictures, but only to show the lowest-low in Christmas decor...Hey, it can only get better from here, right!

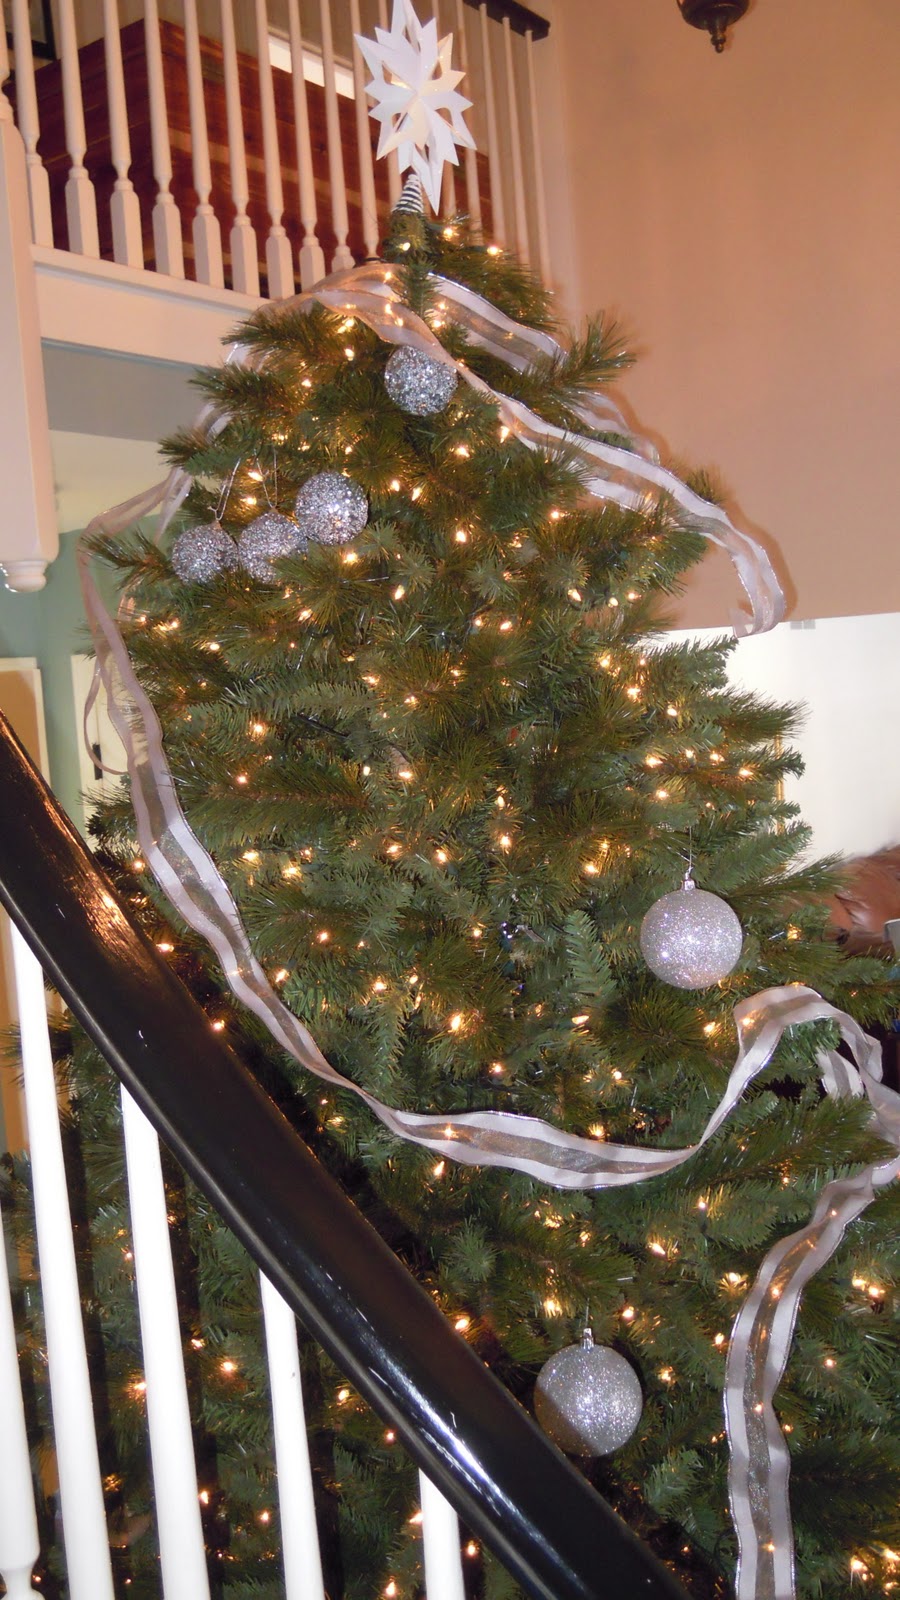
 Ok, we will begin with this sad little number.  When we began, the tree had about 2x's as many ornaments.  The issue with this tree would be its location, both to the floor and the door.  Heinrich the psycho-dobe does not walk out the door in a dignified manner (this is why I prefer cats)...instead he pings and pongs off the walls, chairs, couches, and people that are en route to his tinkle spot.  This means exhibit A has had quite the beating.


 If you look in the lower right corner, you will see the festively frocked little leg of Madam Lu.  She is turning to run out of the room to play the a fore mentioned elf games.  Also notice the huge swag of droopy beads.  This is where the tree's location to the floor makes it, once again, a show of disaster.  On a daily basis, oh heck...let's be real...multiple times a day, I re-drape the beads.  EVERY TIME Madam Lu walks by the tree, she "rearranges" them to look like this.  I should give up, but on the principal of "I will give in and let you play with matches, beer bottles, and finger nail polish to get you to stop screaming...but I will not give in on the blue beads," I keep moving them back.

 
 This is the family tree.  It is filled with all of the cute little things the children have made over the years, my special dove ornaments, and my girl's group bling.


 It sits in the front bay window of Cottage De Haven.  It looks lovely from the outside!


 Oh look!  Remember when Madam Lu's little leg was turning to run...yes, well while I was photographing the little white tree, she was demonstrating some of her other skills.  This was set up very cutely...all adorable and ready to be photographed for you.  I think you can now see why things can only get better after this year...


 A view from the foyer.
 And there is the big tree (we aren't speaking to or about that red ball of destruction right now). By the time we got it out, I had already been picking up broken ornaments and messes from the other 2 trees for about 2 weeks (not to mention the bead debacle).  I was in NO mood to decorate this monstrosity at ALL (aren't the pretty twinkle lights enough?).  Luckily, Sir E was feeling very festive.  He went out there, sang Christmas carols at the top of his tone-deaf-little lungs, and decorated that tree all by himself.  He even put the ribbons around the tree like I do!


 It is hard to tell in the pictures how huge this tree is, but it reaches about a foot taller than the second floor.


 I'm not saying it is the most beautiful the tree has ever looked...but I will say, listening to that little Sir sing his heart out and seeing what he came up with, will always be one of my favorite Christmas memories...

The broken branch happened the first year we had this tree (that was when we lived in Nightmare on Yuppy-Town Street)...when Esther was a dober-puppy-terror and took a "special liking" to that branch.

See that not-so-sneaky elf on the stairs...


Last year I hung the stockings from the banister on the second floor landing.  This year I tried to wrangle them over the fireplace.  Blah...


Well, that is all.  So, turn around, look at your house, and think "wow, my decorations rock " because you could be living in my mess!

Next year I plan to hire bonsavant.blogspot.com to decorate for me...you MUST see his stuff!

Watch out for that evil little elf, I may send her to your place soon....

Saturday, December 18, 2010

Squaw Stitches at Christmas

You may be wondering what has been going on over here at Cottage De Haven...Is the art room done?  Are new delicacies being fed to the dogs?  Has Sir given any new tidbits of inspired opinion?  NO.  But I will show you the things I have been working on lately...
 We went to my Grandma's surprise 70th Birthday Party...Apparently Sir only felt Madam Lu worthy of picture documentation from this event...


We went to a Christmas Party at my Great-Uncle's and First Grade Teacher's house.  This is Madam Lu with my grandfather and I love it that they are mirrored...Yes, Madam Lu's outfit does coordinate with the previous party dress.  I love coordinating party attire!


 The minor Sirs had their Christmas Program...which was actually a Patriotic Program.  Sir E is offering his arms in a dramatic pose...


 While Sir M sings his little heart out... (next to the tall dark-haired kid)


 Deer Hides.  I am making jackets for the minor Sir's Native American/French Trader/Whatever Else They Imagine-Suits.
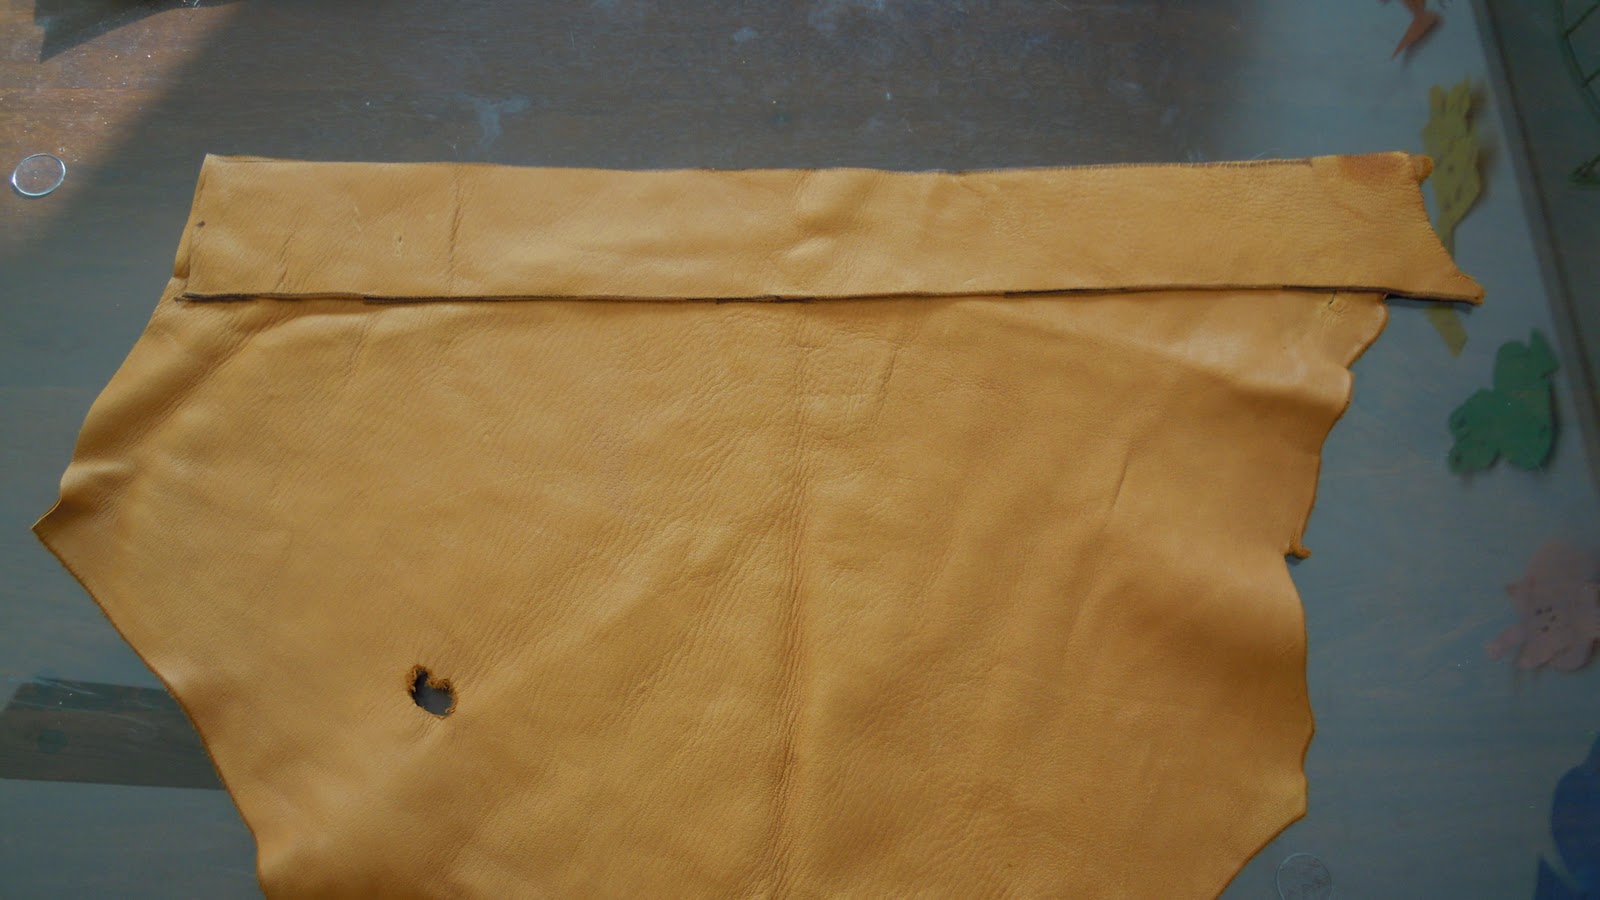
 After selecting the proper hides to make the pieces of the jacket, cut the skins.  Here I have cut strips to make some fringe.


A simple yard stick does the trick to get approximate measurements for sleeves and placement.  I use a washable marker and then use baby wipes to wipe the marker off when done.


 Here are my pieces, all cut and ready to stitch.


 This is a cool poker-tool my grandfather lent me.  It makes it much easier to run the needle through the hides.  I use a scrap piece of dry-wall underneath the hides to ensure I am getting through all of the layers with the poker.


 Here I have used a Lazy Squaw Stitch on the right, which will be exposed and on the left I used an internal running stitch, which will not be exposed.  There is an extra piece of hide sticking out between the seams.  I will cut this into strips and it will be decorative fringe.


 This is Scarlett.  She is my seamstress-in-training.


 And the jacket is done.  I will probably add some beading or embroidery around the neck, assuming I have time (I still have to make another whole jacket for the other Sir).


 The sleeves are gorgeous...natural ends, about 4 inches of fringe on the outer seam at the fore-arm, and then the lovely Squaw Stitch up to the shoulder.  The hole on the shoulder is great too, very authentic!


 The back of this jacket is my favorite!  It has an AWESOME TAIL!  The sides of the jacket are fringed as well.


 Classroom Christmas parties yesterday.  Sir M's class is doing a "build an igloo" relay.


 Sir E's class was calmly snacking and watching a movie...see Madam Lu trying to steal someone's treats?

 Ok, and this is a Caribbean Lime Bar desert I made last night.  I used the rest of the key-limes from the chicken recipe.  The crust is smashed ginger snaps and coconut.  It tastes like a nice tart lemon bar to me...maybe just a bit more tart than a lemon bar...but the crust is amazing.

Well, that is what I have been up to the past couple of days.  My next post will have some pictures of our Cottage at Christmas and why decorating with an opinionated 1.75 yr old and 2 Dobermans is a study in time wasted!

Remember to put on your snow pants and go play in the snow this week...ahhhh snow!!!